Installing Scanners
This guide provides instructions for installing and configuring the Tripl-i Scanner Agent for Windows environments.
Tripl-i Scanner Agent (Windows)
The Tripl-i Scanner Agent is a comprehensive discovery tool for Windows environments. It can be run as an interactive application (GUI Mode) or as a background Windows service for automated, continuous discovery (Service Mode).
System Requirements
- Operating System: Windows 7 / Windows Server 2008 R2 or newer
- .NET Framework: Version 4.8 or newer
- PowerShell: Version 5.1 or newer
- Memory: 100 MB of available RAM
- Disk Space: 200 MB of free disk space
Network Requirements
- The agent requires outbound HTTPS (port 443) access to your Tripl-i API endpoint (
api.tripl-i.com). - For scanning target devices, ensure the appropriate ports are open between the agent and the targets (e.g., WMI ports 135 & 445, SSH port 22, SNMP port 161).
Installation and Configuration
1. Download the Agent
Navigate to the Download Center in the Tripl-i UI and download the Tripl-i Scanner Agent ZIP file (e.g., TriplIScanner_Portable_xxxx.zip).
2. Extract the Files
Extract the contents of the ZIP file to a permanent directory on your server, such as C:\Program Files\Tripl-i\.
3. Choose a Mode of Operation
You can run the agent in two primary modes:
A) Service Mode (Recommended)
This mode is ideal for automated, scheduled scanning from a dedicated discovery server.
- Open PowerShell or Command Prompt as an Administrator.
- Navigate to the directory where you extracted the agent files (e.g.,
C:\Program Files\Tripl-i\). - Install as a Windows Service: Run the agent installer with the service installation option. This ensures it runs in the background and starts automatically with the system.
- Run in Service Mode (Directly): Alternatively, you can run the executable directly in service mode without installing it as a persistent service. This is useful for testing or temporary deployments.
- Once installed or run in service mode, the agent will operate in the background. You can manage the installed service from the Windows Services console (
services.msc).
Service Features:
- Runs continuously in the background.
- Automatically starts with Windows (if installed as a service).
- Handles system events and maintains its own logging.
- Integrates with the built-in task scheduler for automated scans.
B) GUI Mode
This mode is useful for interactive scanning, testing configurations, or running one-off scans from your workstation.
- Navigate to the directory where you extracted the agent files.
- Double-click the Tripl-i Scanner executable to launch the application.
- From the graphical interface, you can configure scan targets, set schedules, and initiate scans manually.
Scheduler Features: The agent includes a built-in scheduler for automated network scanning:
- Schedule scans to run at specific times (daily, weekly, monthly).
- Support for multiple scan configurations simultaneously.
- Each configuration includes IP ranges, frequency, time, and enabled/disabled status.
Logging: The agent maintains detailed logs of its operations, including scan activities, errors, and system events. These logs are crucial for troubleshooting and monitoring.
Configuring the Scanner Token
After installing the scanner, you need to configure it with a Discovery Token to connect to the Tripl-i platform. This token authenticates the scanner and allows it to send discovery data to your CMDB.
Step 1: Retrieve Your Discovery Token
- Log in to the Tripl-i platform.
- Navigate to Discovery → Discovery Token in the left sidebar menu.
- You will see the Tenant Token Management page showing your available tokens.
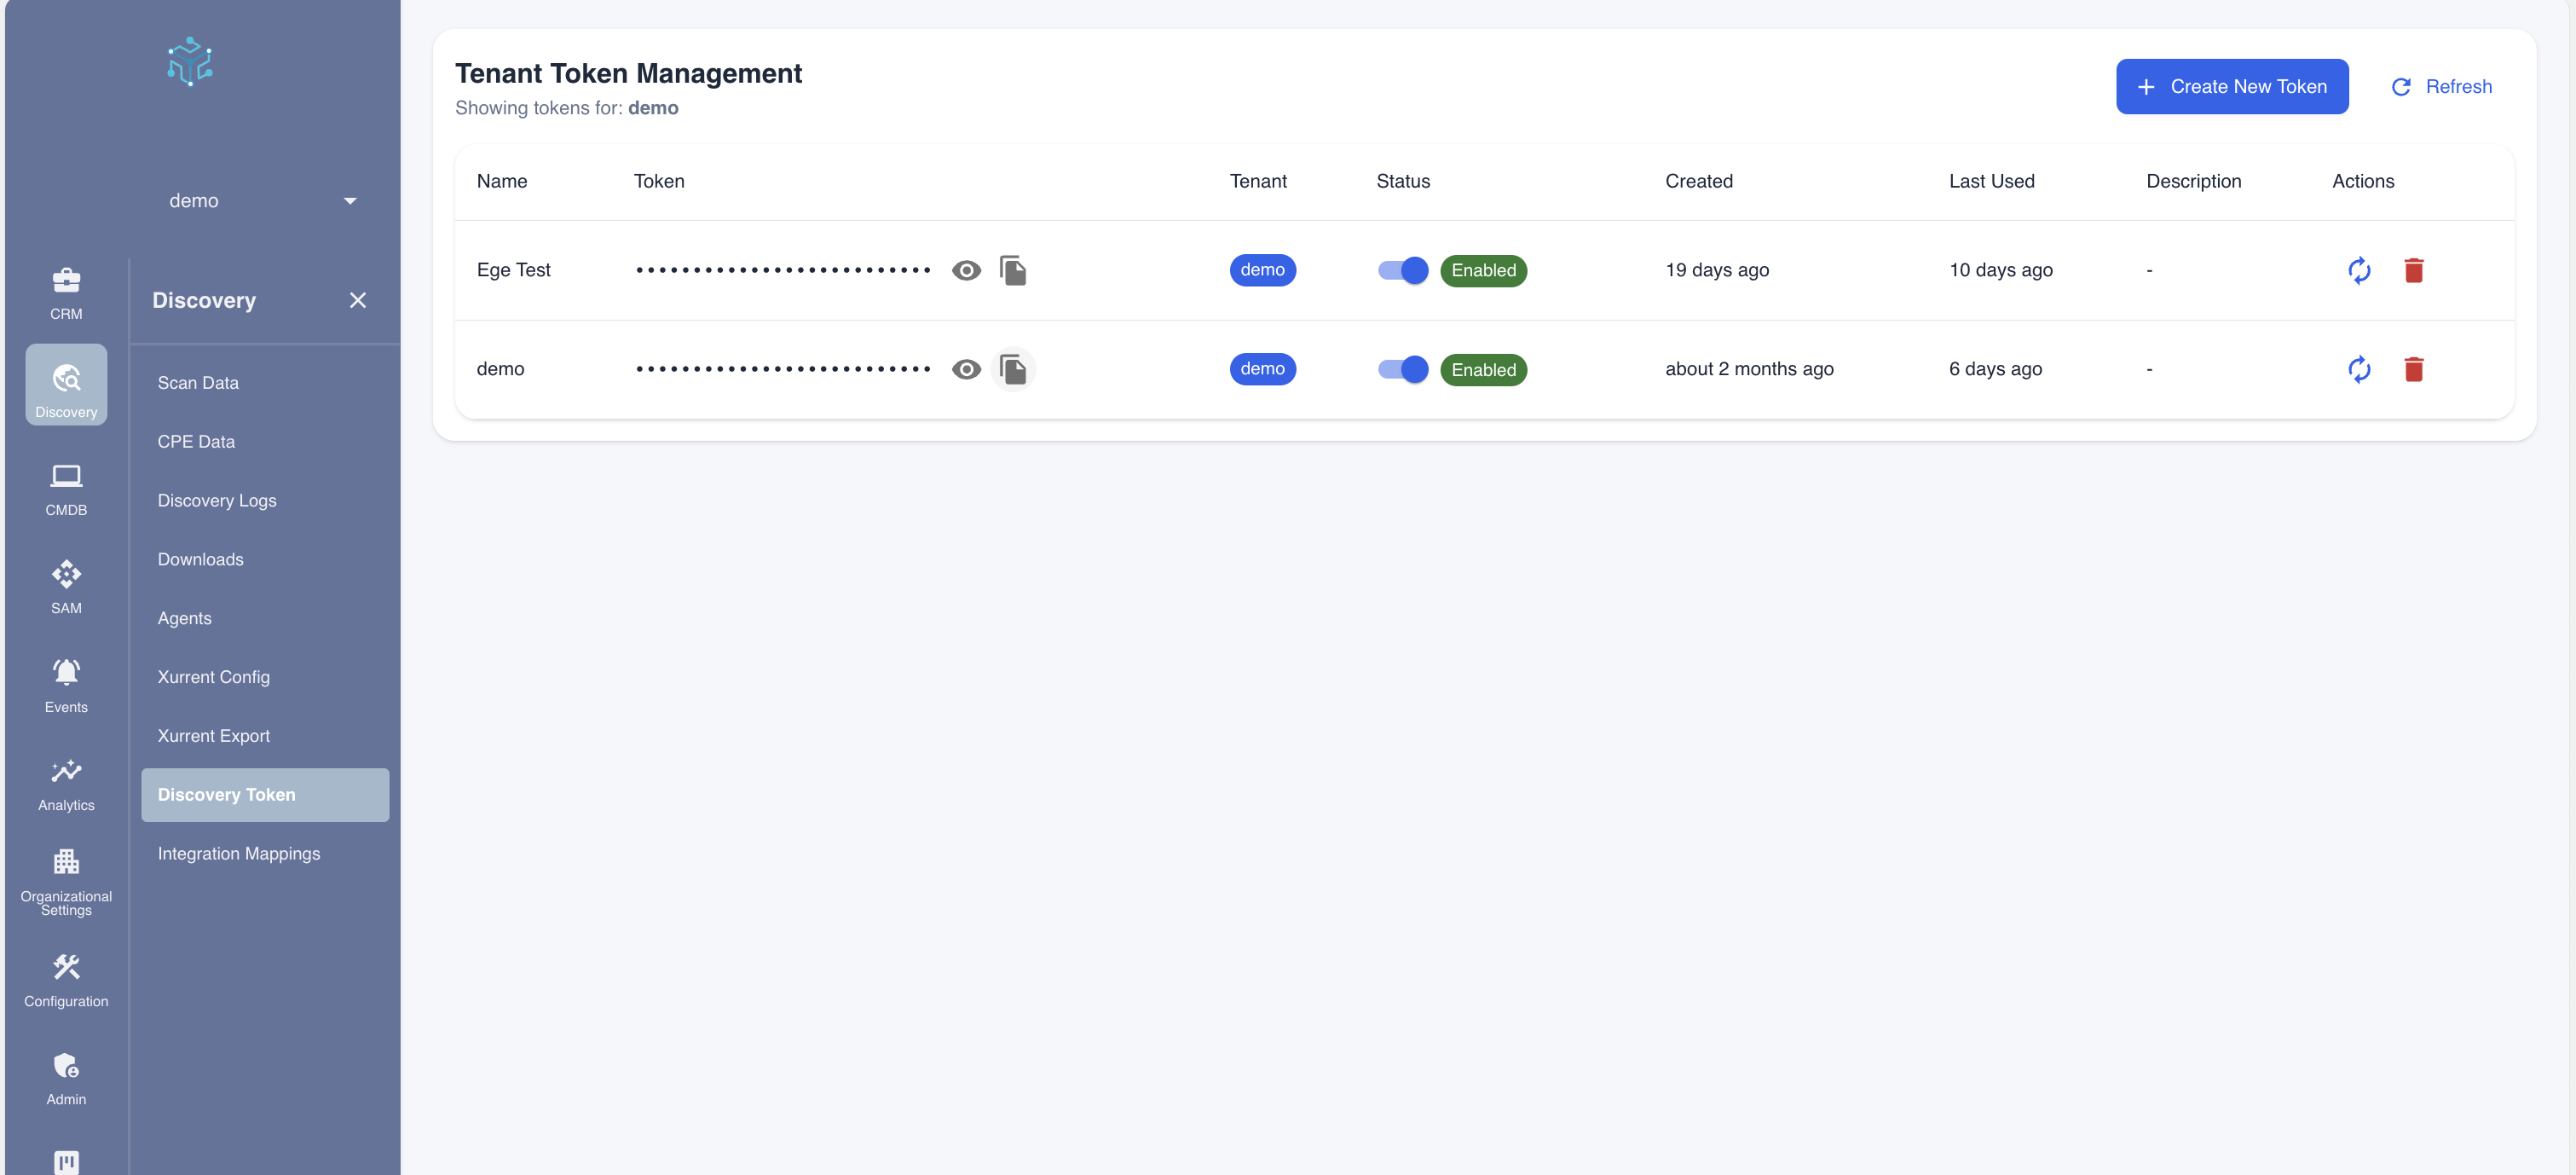
- If you need a new token, click + Create New Token and provide a name for the token.
- To copy an existing token, click the copy icon next to the token field.
- Keep this token secure – it provides access to submit discovery data to your environment.
Each token is associated with a specific tenant. Make sure you're using a token from the correct tenant for your scanner deployment.
Step 2: Configure the Scanner Integration
Once you have your Discovery Token, you need to configure it in the scanner application:
- Open the Tripl-i Scanner application.
- Navigate to the Integrations tab.
- Configure the following settings:
- Name: A descriptive name for this integration (e.g., "Tripl-i Production")
- API URL:
https://api.tripl-i.com/api - Agent ID: A unique identifier for this scanner instance
- API Token: Paste the Discovery Token you copied from the Tripl-i platform
- WebSocket URL (optional): For real-time communication if required
- Click Add Integration to save the configuration.
- Click Test Connection to verify the scanner can communicate with the Tripl-i platform.
For detailed instructions with screenshots, see the Scanner Guide - Configuring Integrations.
After successful configuration, your scanner is ready to perform network discoveries and send data to your Tripl-i CMDB.